Jamie Oliver’s One Cup Pancakes are all about simplicity. No fuss, no fancy gadgets, no complex ratios. It’s literally a ’use whatever cup you’ve got’ recipe. One cup flour, one cup milk, one egg. That’s it. The idea is to make pancakes super accessible, especially if you’re just waking up, a bit groggy and not in the mood to measure out teaspoons and tablespoons.
This recipe is part of Jamie’s whole ’cooking should be easy’ vibe. You don’t need to be a pro chef. You don’t need to own a kitchen scale. If you’ve got a mug, a frying pan and a few basic ingredients, you’re good to go. It’s brilliant for lazy Sundays, quick weekday breakfasts or making memories with kids in the kitchen.
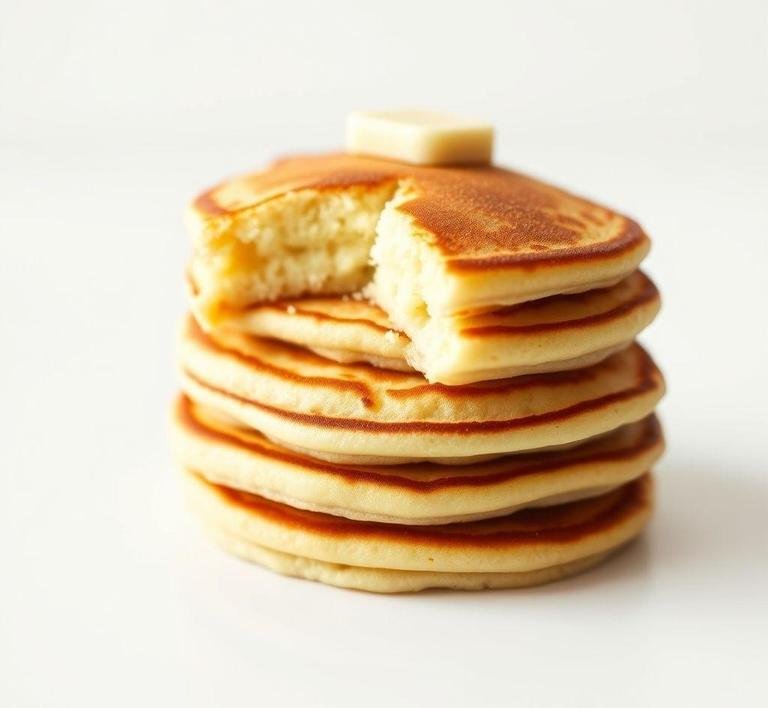
Jamie Oliver One Cup Pancakes Recipe
Ingredients Needed
You only need a handful of things. And they’re probably already in your kitchen.
-
1 cup of self-raising flour
This is key for that fluffy rise. If you only have plain flour, don’t panic. you can add 1 tsp of baking powder.
-
1 cup of milk
Any milk works. Cow’s milk, oat, almond, soy-your call.
-
1 egg
The binder. It holds everything together and adds richness.
Want to spice it up? Jamie often adds things like:
- A pinch of cinnamon
- Blueberries, mashed banana or grated apple
- A handful of oats for texture
But the core recipe sticks to those three: flour, milk, egg.
Equipment Needed
Nothing fancy here. Just the basics:
- A cup or mug (as your measuring tool)
- A mixing bowl
- A whisk or fork (whisk is quicker, fork does the job)
- A non-stick frying pan or skillet
- A spatula (for flipping)
- Stove or hot plate
Optional:
- A ladle or large spoon for pouring batter
- A cooling rack (if you’re making a big batch)
That’s it. You don’t need a mixer. You don’t need special pancake molds. Honestly, you could make this with one bowl and a fork if you had to.
How To Make Jamie Oliver’s One Cup Pancakes
Alright, let’s break it down step-by-step.
1. Mix The Batter
Crack the egg into a bowl. Add one cup of flour and one cup of milk. Whisk it all together until you’ve got a smooth batter. A few lumps? Totally fine. No need to overmix. just enough to bring it together.
If you’re adding extras (like fruit or cinnamon), toss them in now.
2. Heat The Pan
Place your pan over medium heat. Let it get hot, then add a tiny bit of oil or butter. You want just enough to coat the bottom. Not swimming in grease.
3. Pour The Batter
Use a ladle or pour straight from the bowl. Go for small pancakes (around the size of your palm) for easier flipping. Large ones are trickier unless you’ve got serious spatula skills.
4. Wait For Bubbles
Let the pancakes cook until you see bubbles forming on the surface. The edges should start to look a little set. That’s your cue.
5. Flip And Finish
Flip gently. Cook the other side for about 1-2 minutes. You’re aiming for golden brown on both sides and fluffy in the middle.
6. Serve Hot
Pile them up. Add your toppings-maple syrup, fresh fruit, yogurt, Nutella, peanut butter, whatever you love. Jamie likes a drizzle of honey and some fruit. You do you.
What I Learnt
A few things surprised me when I first tried these.
- You don’t need to be precise. Seriously. I used a coffee mug the first time. It worked perfectly.
- The batter is forgiving. Add a splash more milk if it feels thick. Add more flour if it’s too runny. No stress.
- Pancakes are more fun when you stop overthinking them. I used to treat them like a science experiment. Now I just relax and enjoy the process.
- Kids love helping. Letting them crack the egg or stir the batter? Instant kitchen bonding.
- Toppings matter. Even the simplest pancake feels fancy with a handful of berries or a spoonful of Greek yogurt on top.
Recipe Tweaks For Jamie Oliver’s One Cup Pancakes
Jamie Oliver’s one cup pancakes are a solid go-to. They’re simple, quick and don’t require a ton of measuring. just one cup of flour, one cup of milk and one egg. But if you’ve made them a few times, you might be itching to level them up. Let’s talk tweaks.
1. Change the flour, change the game.
Regular self-raising flour works fine but try swapping it out:
- Whole wheat flour gives a nuttier flavor and adds fiber. Go half-and-half if you’re easing in.
- Oat flour (just blitz rolled oats in a blender) makes them tender and slightly sweet.
- Gluten-free flour blends also work surprisingly well-just add ½ tsp baking powder if they’re not self-raising.
2. Add-ins to boost flavor.
Here’s where you can play:
- Lemon zest and vanilla extract take these from basic to bright and fragrant.
- Cinnamon or nutmeg if you like cozy, spiced pancakes.
- A spoonful of Greek yogurt in the batter makes them richer and more filling.
3. Milk swaps.
Use any milk you like-dairy, almond, oat, coconut.
- Buttermilk adds tang and makes pancakes super fluffy.
- Coconut milk gives a subtle tropical note-great if you’re topping with mango or pineapple.
4. Egg alternatives.
Going egg-free? Try:
- 1 tbsp chia seeds + 3 tbsp water, rested for 10 mins.
- ½ mashed banana-makes them sweet and moist.
5. Cook ’em different.
Don’t always go for the flat round stack. Make:
- Mini silver-dollar pancakes-kids love them.
- Thicker drop scones-just reduce milk a bit.
- Or pour batter into ring molds for tidy, café-style stacks.
Storage Tips For Leftovers
So you made a big batch (or maybe you doubled the recipe because you were feeling ambitious). Here’s how to handle leftovers like a pro:
1. Cool completely before storing.
This is key. Warm pancakes trapped in a container = soggy, sad mush. Lay them out on a wire rack and let them chill.
2. Refrigerate short-term.
Pop them in an airtight container or a resealable bag with parchment paper between each layer. They’ll stay fresh for about 2-3 days.
3. Freeze for later.
These pancakes freeze like a dream:
- Stack them with baking paper in between.
- Wrap in foil or a freezer-safe bag.
- Label with the date (you won’t remember, trust me).
To reheat:
- Microwave: 30-60 seconds, depending on how many.
- Toaster: for a bit of crispness.
- Oven: great for warming a bunch at once-180°C (350°F) for about 10 minutes.
What To Eat With Jamie Oliver’s One Cup Pancakes?
Let’s be honest-pancakes are a blank canvas.Here are some combos to try.
1. Classic Sweet Route.
- Maple syrup + butter. You know the deal.
- Fresh berries + Greek yogurt. adds a bit of tang and freshness.
- Sautéed apples with cinnamon. just cook sliced apples in a bit of butter and sugar.
- Nutella + banana slices-dessert disguised as breakfast.
2. Savory twists.
Yes, pancakes can go savory too:
- Crispy bacon + a fried egg. Drizzle with a little hot sauce or maple if you’re feeling wild.
- Smoked salmon + crème fraîche + dill-brunch vibes.
- Grated cheddar + chopped chives mixed into the batter before cooking.
3. Global flair.
Try flavors from around the world:
- Japanese-style: Add a bit of miso or soy sauce to the batter and top with scallions and sesame seeds.
- Middle Eastern: Drizzle with tahini and date syrup, sprinkle with pistachios.
- Tropical: Pineapple chunks, coconut cream and toasted coconut flakes.
FAQs
What Makes Jamie Oliver’s One Cup Pancakes So Special?
They’re super simple! Just one cup of flour, a few other basics, and they come out fluffy and delicious every time.
Can I Make Jamie Oliver’s One Cup Pancakes Gluten-free?
Yes! Just swap the regular flour with a gluten-free alternative, and you’ll still get a tasty stack.
How Do I Store Leftover Pancakes From Jamie Oliver’s Recipe?
Store them in an airtight container in the fridge for up to two days, or freeze them for later!